Showing posts with label metals. Show all posts

Sunday, July 17, 2011

Torch Enameling

I took a class this past June at Bead and Button with Melissa Manley on torch enameling copper. It was a great class. I decided to order the Swanstrom disk cutter from Rio Grande to cut my own disks. Wow, it cut them like butter.
Now I'm creating a sampler set of Thompson Enamel colors to help me decide on a color palette
It's amazing how different the enamel looks on the copper compared to the bag. Lots of colors to do........

Tuesday, May 11, 2010

the Donut Necklace


So late last January I blogged about a seed bead bracelet kit I had made, and I showed off the metal clay donut I made. Well here is the necklace that was born from those two elements in case you all were wondering where i was going with that! The sterling silver large jumprings are fused argentium silver. And the clasp is a variation of a design offered by Whole Lotta Whimsy's muse, Barbara Simon.

Monday, May 10, 2010

New Work -silver metal clay ring


So I have to do something creative! It's been months since I have sat down and made a bead or a piece of jewelry. And I am so tired of sorting and packing.
This ring was started at least 4 months ago. I found it - unfinished - on my bench in my frenzy of organizing the studio. So Saturday I sat down to apply the finishing touches. And voila!
Is it pave? Is it a bead? No it's not a bead....the rhinestones are all set by hand.
something new I tried.... stay tuned for more!
What do you think?

Saturday, March 6, 2010

My Cover Bead - The Gatherer

I was away at the Synergy 2 conference in Baltimore, MD when my Winter 2010 issue of the Glass Bead arrived. Last year I entered the call for entries from the ISGB - International Society of Glass Beadmakers for a bead that would grace the cover of the ISGB's annual meeting publication. The theme was "Beyond Boundaries" and I entered a mixed media bead (lampworked bead with metal clay) called the Gatherer. I had just returned home from a vacation in Palm Springs where I went on a great hike. The guide showed us examples of rock art. There was one cave like area with a large rock that overhang the area like a roof. All of the petroglyphs there were of images with large hands. The guide explained that this area was for gatherings, and the large handed pictoglyphs represented protection of the people who gathered there. So I made my bead complete with a metal clay gatherer and it was chosen for the cover. The annual meeting of the ISGB is called "The Gathering" and it will be held in Rochester, NY this year.


I have decided to display my bead at home; and I purchased this great suspension gift box from Rio Grande for my bead. Now I need to make some more.

Sunday, January 17, 2010

Matching Bracelet


So the bracelet to match the necklace that I posted a few day ago is done. I had originally thought I would connect the links with jumprings. But didn't like that look. So back to the drawing board. Ended up doing seed bead work yesterday (I'm making my daughter a bracelet)instead of finishing the metal clay bracelet as planned. Then last night on my nightstand was the current copy of metalclay Artist Magazine and on the cover is a bracelet made by artist Vickie Hallmark. She connected her bracelet with balled wire. So today I tried that technique. Not as easy as it looks, but I really love the finished bracelet now. Of course I am planning another - with original texture and some small improvements to the design. But for my next project I want to try some rings or maybe a brooch.

Saturday, June 13, 2009

Day 1 at Bead and Button - Copper Etching Class


My first day at Bead and Button was spent with Janice Berkebile learning how to etch copper. My plates turned out fantastic. Janice is a wonderful teacher and her approach to adding the images to the copper was unique. We ended up with collages of images on the metal. Janice uses the etched copper for bead caps and beads for her finished jewelry, so she cuts the pieces up. My intent was to etch copper sheets as texture plates for my metal clay work. And these will be wonderful. But I might have to use some of them for jewelry components too, plus each plate turned out to be a piece of art all by itself. Umm.... might have to frame a few.
The process of etching the copper with Ferric Chloride is messy and the chemical takes special handling. At the Bead and Button show, we heard about Sherry Haab's new etching machine. the E3, that will etch copper, brass and silver and uses chemicals thatt are less harsh to the environment. So had to have one. I plan to etch some copper both ways and will keep you posted how it goes. Of course, I need to order some supplies before I can begin.
More on Bead and Button tomorrow.......

Tuesday, March 31, 2009

New Techniques

I know I have to make lots of bead inventory for the Bead and Button Show coming up this June, but I am also trying to set aside some time each week to try out some new things. It's the only way to grow and come up with new ideas and expand my creative juices.

If you know me you know I make lampworked beads, but also like to use them in jewelry too. So I like to try lots of jewelry techniques. I also work with precious metal clays. And I am trying to teach myself some basic silver smithing techniques.

So I decided to make a project that appeared in the September 2007 Art Jewelry Magazine. My plan is to adapt it for my glass beads. But for now I followed it precisely. I learned a new cane technique with polymer clay. I made 3 bezels and attached them to sterling backs which I had to saw out. And I soldered the 3 pieces to a wire (not easy), and soldered on a pin finding. Whew!
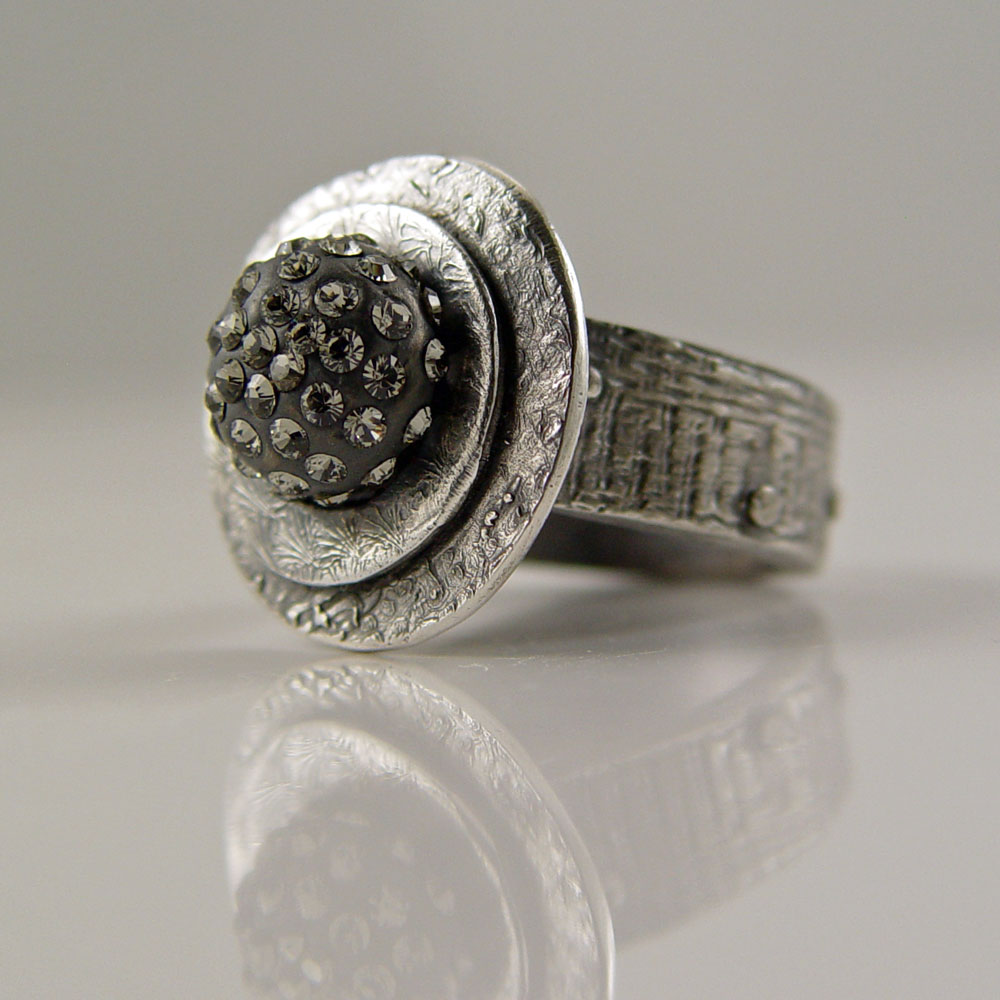
But I'm happy with the results. And I definitely learned a lot. It's not perfect. But I already have plans for number 2 and know what I need to do a little differently to work smarter.

Thursday, March 26, 2009

Bronze Clay Bangle revisited

The Repair - so I rolled and cut a shape of bronze clay 6 cards thick again to fit into the gap created from the first firing. Not so easy to get the fresh clay to adhere to the fired clay. Used a little spit (wash your hands first) and it stuck. (thank you Hadar) Dried it, sanded it , carved it.

Also made 4 other pieces... will talk about those in a later post.

Put all 5 pieces in the carbon for firing. The bracelet went in the bottom layer and the 4 pieces in a second layer on top. Used the same firing schedule.

Interesting to note that the patina on the refired piece deepened and there is lots of purple on the back. (no picture, sorry). The other 4 pieces have a patina similar to the bangle after the first firing. ?/? wonder if more firings will increase the patina??

The repair is not quite successful. There was some pulling away at one of the attached seams. Maybe I should have filed it more. Anyway the plan is to add more clay and fill in the little gaps and fire it again.... Stay tuned.

Monday, March 23, 2009

Bronze Clay

I took a bronze clay class with Celie Fago last September. Vermont was great, even though I was hoping for more color change in the trees, and the class was superb. I had great expectations to rush home and make many bronze pieces. But, that never happened.

Saturday I finally got the urge to experiment and dug out the left over bronze clay from the refrigerator. I was happy to see that the clay looked and felt good. It hadn't oxidized and was well hydrated. I decided I wanted to make something that I would carve. I remembered seeing a bangle bracelet made by Barbara Simon so I set out to make one of my own. I made the bracelet 6 cards thick and left it to dry overnight. Sunday morning I carved petroglyphs and squiggles into the bracelet. I really got into the carving. It was fun. I decided to fire the piece during the day as this was my first bronze clay firing and I wanted to monitor it. The big decision was should I follow the firing routine given to me by Celie; or should I use the new firing schedule that I have read about on Hadar's website. I decided to go with the schedule from Celie for thick pieces that I got when I took her class. I ramped the kiln at 250 degrees per hour to a temp of 1531. I chose this slightly lower temp (instead of 1550) because I am pretty sure my kiln is firing a little hot. I used the coal based activated carbon and fired just the one piece in the large stainless steel container with the lid on. The container was placed on kiln posts. The schedule took just over 9 hours so I waited until this morning to pluck out the piece.

Bummer, it split right at one of the deeper carving lines. Today I am going to try to repair it. And I am going to follow the same firing schedule. The bracelet has fully scintered though, so I am happy with that. So stay tuned. I'll post the repair when it's done. Oh yeah, some cool colors too... nothing too vibrant though.

Thursday, March 5, 2009

I just tube set a stone

I have been wanting to teach myself to tube set a stone for a long time now. Never seem to have the right tubing to go with the stone or visa versa. During the Tucson shows a year ago I actually took a Rio Grande class on stone setting. A great class by the way. It was a 3 day class, and by the time we got to tube setting, I was so sick with the flu I don't remember anything.

Today I was going through some old issues of Art Jewelry Magazine .... I'm cleaning my studio and putting away the hundreds of magazines on the floor is a high priority. Of course it's nice to take a break and thumb through them too so I am guessing that is why my studio never gets clean. Anyway, in the July 2008 issue, Noel Yovovich, who made the awesome bracelet on the cover, has a one page article on a super quick way to tube set a stone. This time I actually had the correct size tubing for my 3mm amethyst and literaly in 10 minutes my stone was set. I didn't kill my hand pushing the metal over the stone either. And it looks good - not perfect - but good. I have learned that you should file the cut edge of the tube before setting the stone. Next time I will wear my magnifiers so I can actually see those tiny imperfections.

I was anxious to try this new technique to set the stone so now I have this piece of tubing with a stone set in it, and I am wondering what to do with it. I'll figure that out later; right now I am just rejoicing that I can do it!